Guide - How to use PGP on the darknet (Windows / Linux)
If you are planning to make a purchase on the dark web, you should really take the time to learn how PGP encryption works. It's actually not that difficult and this guide aims to make it as easy as possible for beginners. PGP stands for 'Pretty Good Privacy' and is an encrypted method of sending and receiving messages which can only be read by a specifically intended recipient. Many markets provide an auto-encryption option when providing a vendor with your address, but in this instance you are putting your trust entirely in the market. For best security, you should encrypt yourself to be 100% sure that your message cannot be read by anyone else.
In addition to the sending and receiving of encrypted messages, PGP provides a means of Two Factor Authentication (2FA) which some markets now mandate. This provides some protection to your account by not relying solely on a password and adding another layer of identity verification - important for protecting any funds you may have within a market.
Downloading and installing a PGP client
Before you can do anything, you need to download and install a PGP client. For this tutorial we will be using a program called 'Kleopatra' which is one of the most popular PGP tools. The installation process will vary slightly according to the operating system you are using:
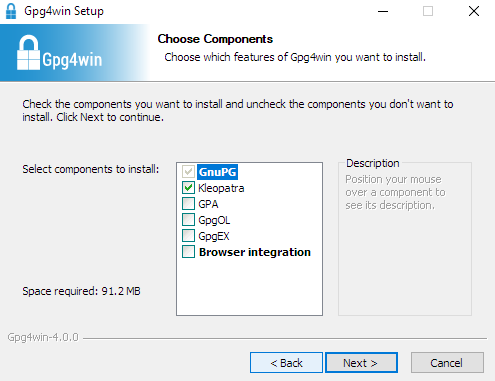
Windows users: Kleopatra is included as part of a package called Gpg4win which can be downloaded here. Note that whilst you will be asked for a donation, this is entirely optional. Save the .exe file and run it. After selecting your language, ensure that GNuPG and 'Kleopatra' are selected and proceed (other components are optional but not necessary).
Next, specify the destination folder (usually Program Files by default) then select install. After a short installation time, select 'Run Kleopatra' to open the application.
Linux users: Kleopatra can be found in the software managers of many different Linux distributions such as Linux Mint. If your distribution does not have it listed however, or if you prefer not to use an application manager, you can download Kleopatra directly from here: https://pkgs.org/download/kleopatra. The installation process will vary slightly according to your build, but it is generally very quick and straightforward. From here on, the processes are virtually identical whichever operating system you are using.
Creating a PGP key
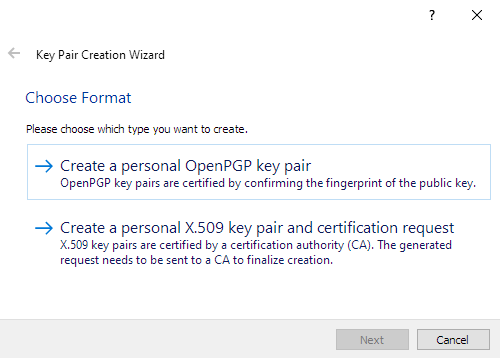
In order for others to send you encrypted communications (e.g. vendors if they need to contact you), or activate 2FA to improve the security on your market account, you will first need your own PGP key. With the Kleopatra application open, select 'file' from the top left, then choose 'New Key Pair' (you can also press Ctrl + N). Select 'Create a new personal OpenPGP key pair'.
You will then be prompted to enter a name and email address. It is advisable to populate the name field so people can easily identify you PGP key should they need to send you a message. Ideally it should match or be very similar to the name you go by on your dark web market profile. The email address field can be left blank, but if you do choose to populate it, enter a fake email address, not your real one!
It is strongly recommended you tick 'Protect the generated key with a passphrase' to provide an added safeguard. Before clicking 'Create', be sure to select 'Advanced Settings' first.
Depending on your version of Kleopatra, the default settings may vary. In order to maximise security and compatibility with clients other users may have, we recommend selecting 'RSA' and '4,096 bits'. Signing, Certification and Encryption should all be ticked (Authentication is optional). You can choose whether to have a 'Valid until' date. If this is selected, your PGP key will expire on the specified date. This can be a good security feature if you wish to rotate keys regularly, but if you don't want the restriction of an expiration, simply untick this box.
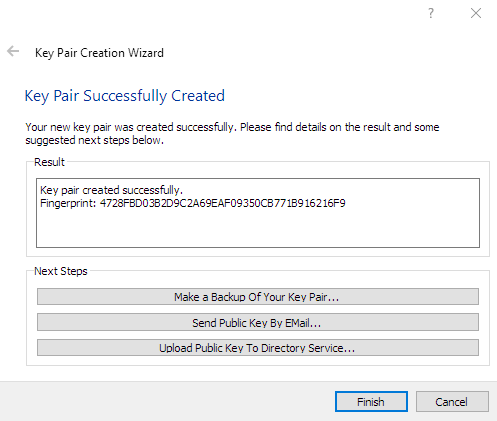
If you opted for a passphrase (recommended), you will be prompted to select this next (be sure to remember it). Your key pair will then be generated.
You can simply select 'Finish' at this stage.
Exporting your public key
Wondering why the phrase 'key pair' has been used? This is simple. A PGP identity consists of two parts. One part is your secret (or private) key. This is only to be used by you for decrypting communications and should never be shared with anyone else. The second part is your public key. This is what other people will need in order to create an encrypted message that only you can read, or for 2FA purposes. The next task therefore is to export the public key so you can start sharing it.
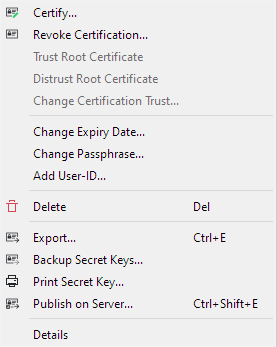
In the certificates screen of Kleopatra (the default screen when you open the application), right click on the name of the key you just created and you will be presented with the following options:
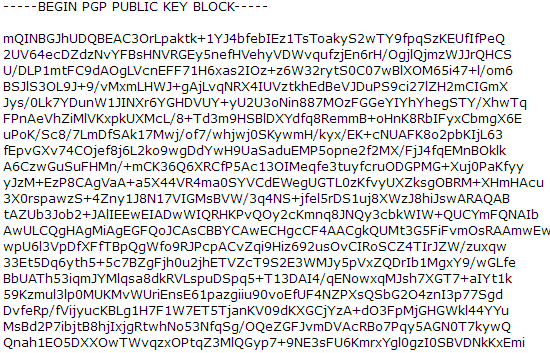
Select 'Export' then when prompted, save the file to your preferred location (you can rename it if you wish). By default the file type should be shown as 'OpenPGP Certificates'. This file can be opened up in a text editor such as Notepad or Leafpad and should look something like this:
A public PGP will always begin with:
-----BEGIN PGP PUBLIC KEY BLOCK-----
and end with:
-----END PGP PUBLIC KEY BLOCK-----
If you need to make a backup of your private key to import to a different software application or another system, this can be done by selecting 'Backup Secret Keys' instead of export. These will look very similar to public keys but will start and end with the word 'PRIVATE' instead of 'PUBLIC'.
Importing someone else's public key and encrypting a message
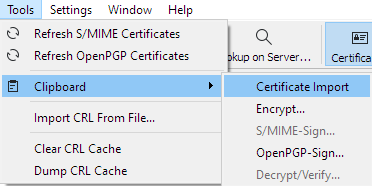
So you want to send someone else an encrypted message? It's actually pretty simple. This is what you'd need to do when sending a vendor your name and address for a delivery. First find their public PGP key and copy it. Then go to
Tools > Clipboard > Certificate Import.
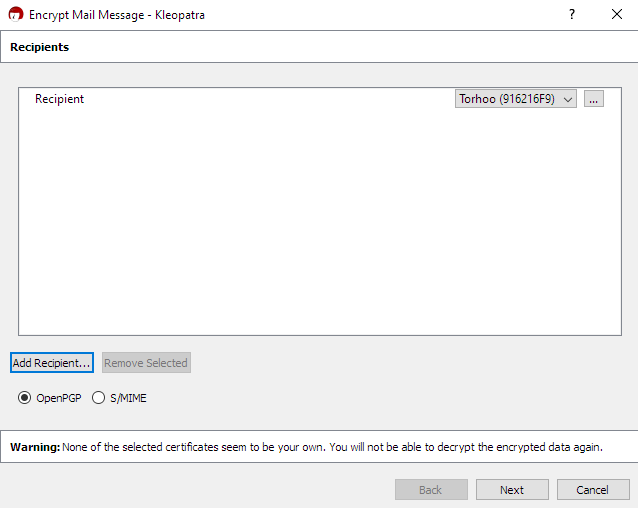
If prompted whether you wish to certify, you can just select no (it's really not necessary). Their public key should now have appeared in your keys list. To prepare an encrypted message for them, create the message first in notepad or any text editor, then copy it. Next go to Tools > Clipboard > Encrypt. Select 'Add Recipient' and choose the key of the person you wish to send a message to, then click 'Next'.
An encrypted message will now be saved in your clipboard and will look something like this:
Simply paste and send this to the recipient, and ONLY they will be able to view the true contents since they hold the corresponding private key.
Decrypting a message sent to you
So someone has sent you a message and you want to decrypt and read it? If you've made it this far, then you'll find this part is super simple! Go to
Tools > Clipboard > Decrypt / Verify, then enter your PGP key password when prompted. Kleopatra automatically detects which of your PGP private keys to decrypt a message with if you have more than one. Then voila, the decrypted message will be in your clipboard and you can simply paste it into a text editor in order to read it.
When using 2FA for logging into a market, you will be sent a message which you will need to decrypt in this manner. You will then be asked to paste a randomly generated code into the specified box which will then verify your identify and allow you to login.
That's all the basics of using PGP covered. It is well worth the time investment to learn this in order to improve your security when using the darknet.


